Photoshop 4 - Creating Silhouettes
Create the 'Ride the World' silhouette using the files in your DM11 work files folder and the steps listed here:
STEP 1
Open up the image 'half pipe.jpg'
Using your selection tools, make a selection around the silhouette object (the snowboarder).
STEP 2
Once the object is FULLY selected put it on a new layer
LAYER > NEW > LAYER VIA COPY
STEP 3
To create a silhouette of the silhouette object...
Set foreground colour to BLACK
EDIT > FILL > confirm colour selection > check PRESERVE TRANSPARENCY > OK
Keyboard shortcut: Select this new layer and Press SHIFT+OPTION+DELETE to fill the object with BLACK
STEP 4
Open your background photo
Add a filter or layer effect(s) of your choice
STEP 5
Use the RECTANGULAR MARQUEE to draw a rectangle across the bottom of the image
Set the foreground colour to BLACK
Press OPTION+DELETE to fill the rectangle with the foreground colour
STEP 6
Move your original object into the background image
You may need to use the TRANSFORM tool to resize and orient the object
STEP 7
Use the TYPE TOOL to create a title for your image in the black rectangle at the bottom of the image. Use the eye dropper tool to match the font colour to an element of your background.
STEP 8
Save this file in your 'YourLastName-PS 4' folder using 'LastName-Ride the World' as your file name.
Don't forget to go on to the Photoshop 4 project below. Save this project in the same PS 4 folder, and then put this folder in Mr. Wilson's dropbox.
Photoshop 4 - Project
Create an image using silhouette objects of your choice and place them on a suitable background using filter effects, a balanced and effective layout, and text.
|
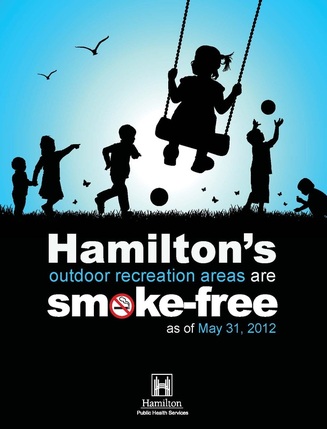
Here are silhouettes in use by a "no smoking" ad campaign:
|
And here is work by a student for this assignment:
|
|
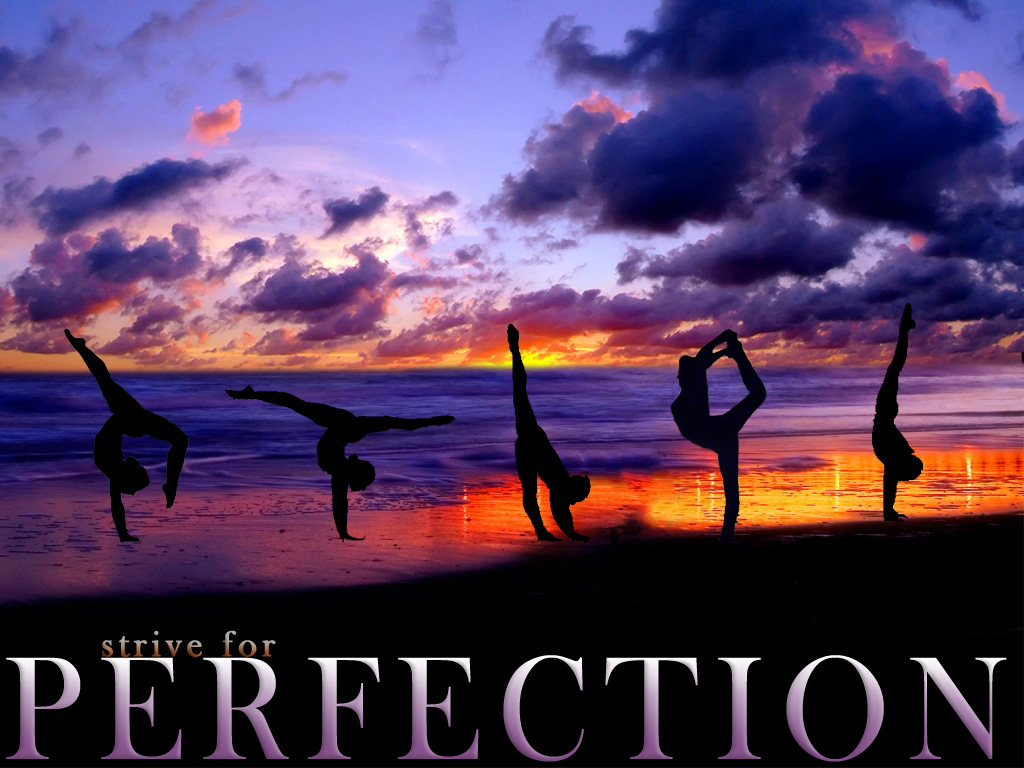
"Strive for Perfection" by W. Shewchuk
|
